Winter Ice Climbing Kit – Get ready for the Ice!
With winter fast approaching, now is a good time to check your kit!
Ice Axes and Leashes - Firstly, look at your ice axes and make sure they are in good condition. Check the nuts and bolts. If you are changing the pick then it is sometimes a good idea to replace the nuts as some have nylon threads.
If you use leashes, check them for any wear and make sure they are right for the job. What I mean by this is that, for me, the right leash system is really important. The leashes attach you to your tools so they need to be the right length and comfortable around your wrists. You also need a system, so that when you are hanging from your axes on steep ice, you can release one hand to place or retrieve an ice screw. For this reason, clipper leash systems have become very popular as they stay firmly secured around your wrists, but when you need to release a hand, you can do so by unclipping the whole leash from the shaft. It takes some time getting used to them but they work very well. Just be careful if you are placing or removing screws on steep ground near your head as the leash can whip round and hit you in the face!
Clipper leashes are not everyone’s cup of tea and some people prefer a leash that is always secured to the axe so you take out your hand. The main advantage of this is that your hands are left free to place screws and belay without the leash getting in the way. It is also nice to have a leash hanging from your axe when you are leading and placing a screw because if you get pumped very quickly you can clip into it or use it as an interim runner to calm the nerves!
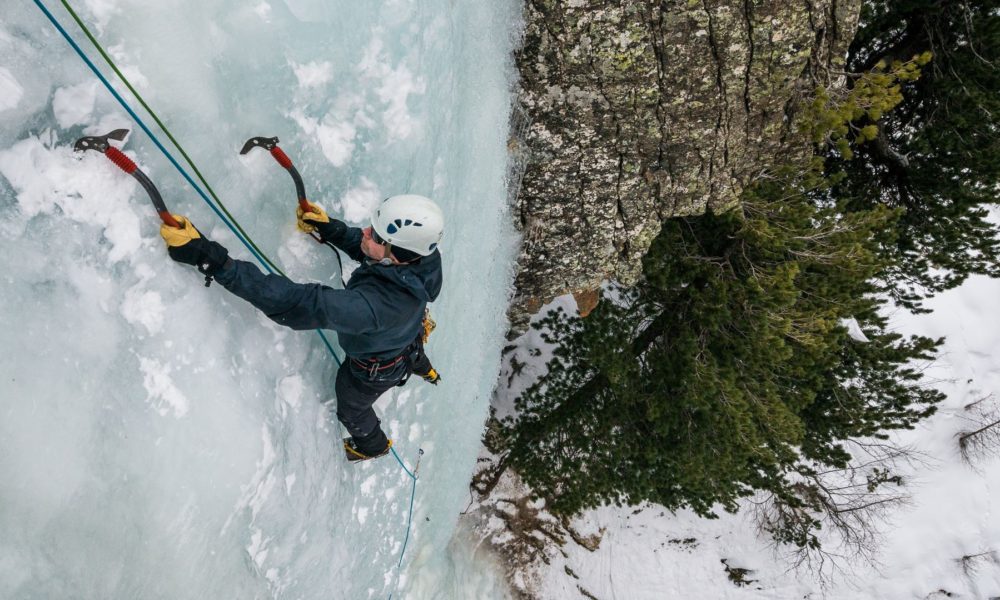
Today, many people climb leash-less and there are many axes out there designed with just that in mind e.g. the DMM Switch or the Petzl Nomic.
Both these axes have steep fully curved shafts and ergonomically designed handgrips designed for steep ice or mixed climbing. The curved shaft gives great clearance and importantly the shape and angle of the handgrip allows you to grip comfortably giving you maximum control and direction of each pick placement. The offset angle of the handgrip also gives you a stronger and more powerful wrist than when holding a straight or curved shaft, where the wrist is under a lot of stress when you are on steeper ground. This offset handgrip also pulls the right muscles into play allowing the biceps and bigger shoulder muscles to do much of the work.
As well as the grip though, it is the heel spur/trigger that allows you to relax and not grip the shaft so hard so that in the longer term you get pumped! It important that the bottom of your little finger and the end of the heel of your hand sit comfortably on that heel spur/trigger to take much of the balance and strain. When you throw the axe towards the ice, it’s at this point the heel spur/trigger rotates around the heel of your hand allowing you to flick your wrist and get a great pick placement with minimum effort.
The modern day leash or tether attaches to the bottom of your ice axe and then on to your harness. The main purpose of this is that you will never drop your ice axe when you are not holding onto it such as at a belay station or when placing an ice screw. The great thing about the tether is that it still allows the freedom of movement and the simplicity of over moving over ice or mixed ground, which you only get when you climb leash less.
Having said that, if you are leashless climbing for the first time I would suggest that you drop down a grade or two from what you climb with old style leashes, as it is a very different ball game! Take your time with it, as it’s much more serious and committing. You do not want to fall, either by a foot coming off a small ice feature or by getting pumped. I have seen a lot more climbers taking falls as leashless climbing has become more commonplace. Icefall climbing is not sport climbing in winter. Get some mileage under your belt first by building technique, strength and an understanding of all the different types of ice before going leashless all the time.
Also, a week of lead climbing on steep ice is hard work and probably miles away from your normal day-to-day life. Give thought to the week and don’t overcook the last day by climbing your hardest route having just started leash less climbing. You’ll be tired physically and mentally and it’s a time when you may very quickly and without warning get pumped! Build up to it and do not feel as though you ‘should be’ climbing leashless, do what you feel is right for the conditions and your level of experience.
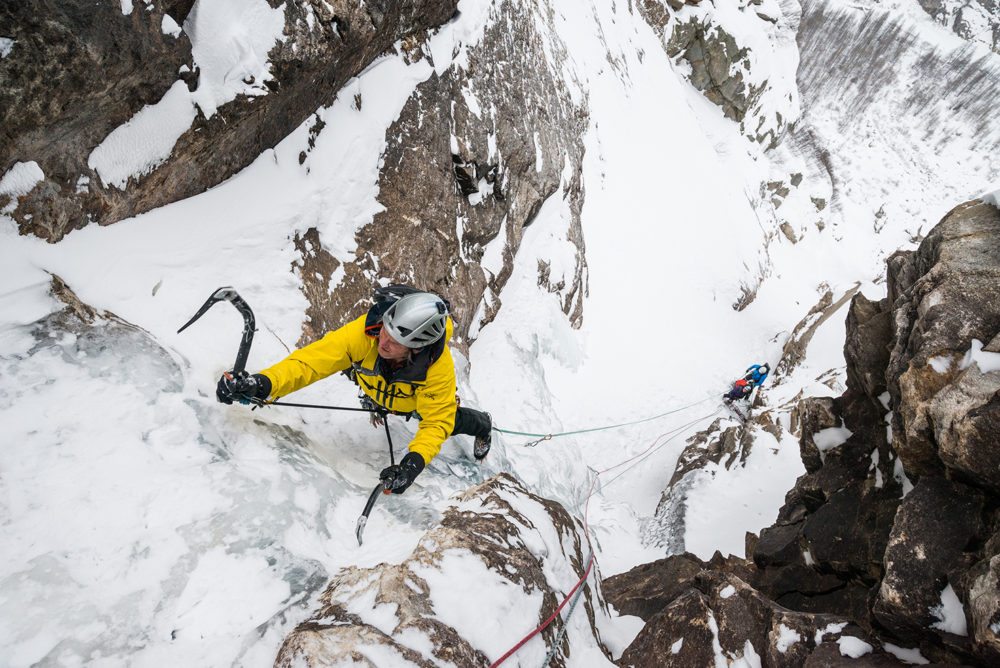
Crampons - Sharpen your crampons with a fine file so the teeth are sharp and will bite into hard waterfall ice. Check they fit your winter boots well and that all the nuts and bolts are tight. Also, check that your crampon straps are in good order with no frayed ends. There is nothing worse than trying to thread a frozen frayed strap through two small eyelets with gloves on! If you are buying new crampons, go for the dual vertical points that have serrated teeth on the underside that bite into the ice. The classic flat horizontal points with no teeth on the underside will skate around on the cold hard ice. Climbing both rock and ice is all about footwork. If you lose confidence in your feet then you will use your arms, more which is a lot more tiring, to the point that it will be too hard to get up the route let alone placing or retrieving gear.
I also think that dual points are more stable than mono points, giving you more confidence if your feet and making climbing less tiring. They also allow for a more relaxed ‘toes out slightly’ technique giving the calves a much needed rest (the actual dual points sit closer to the outside of the crampon, closer to the underside point allowing you to stand on those points above the big toe easier). Finally, go for a lightweight crampon allowing you to enjoy using the features of the ice accurately and efficiently.
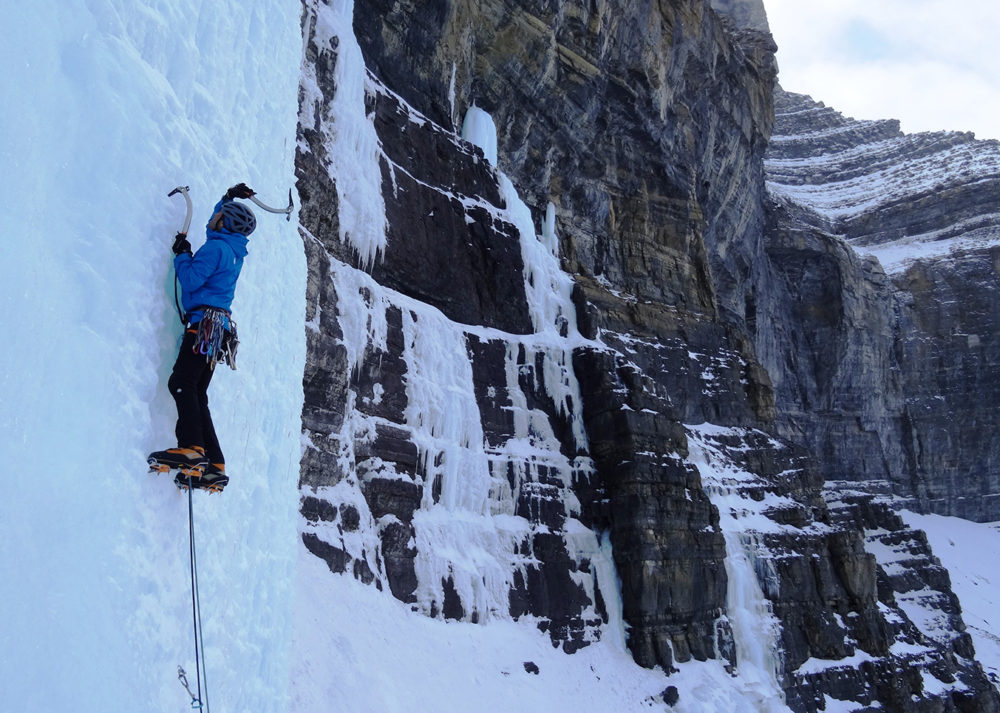
Ice Screws - The best modern ice screws today are of the screw in and screw out variety such as the Black Diamond Express ice screw. This screw has a chromoly shaft, stainless steel hanger and express lever that opens out and allows you to drill in the screw quickly and efficiently. The newer BD Express screws have silver hangers which reflect the sun helping keep a solid placement rather than it quickly melting out on sunny routes as it did with the older black metal hangers. The teeth are very aggressive meaning they bite into the hardest ice for a quick placement. They have also taken some weight out of the hanger so that it is less head heavy allowing for a quicker and safer placement. This means that you will be less likely to drop it when screwing it in. The angle of the hanger (90 degrees) also allows you to tap it round with the heel of your hand to help get a solid placement so that the hanger is flush with the surface of the ice.
Remember always dry your screws after you have used them by taking off the protective end caps. Always use the protective end cap as it keeps the teeth of the ice screw nice and sharp – you will be glad of this one day! I always keep and transport mine with the end caps and sleeves, which also protects the thread on the shaft and in turn helps when screwing the ice screw into the ice. One tip is to make a hole in the end cap so that any moisture from the screw is allowed to drain away, stopping any potential corrosion.
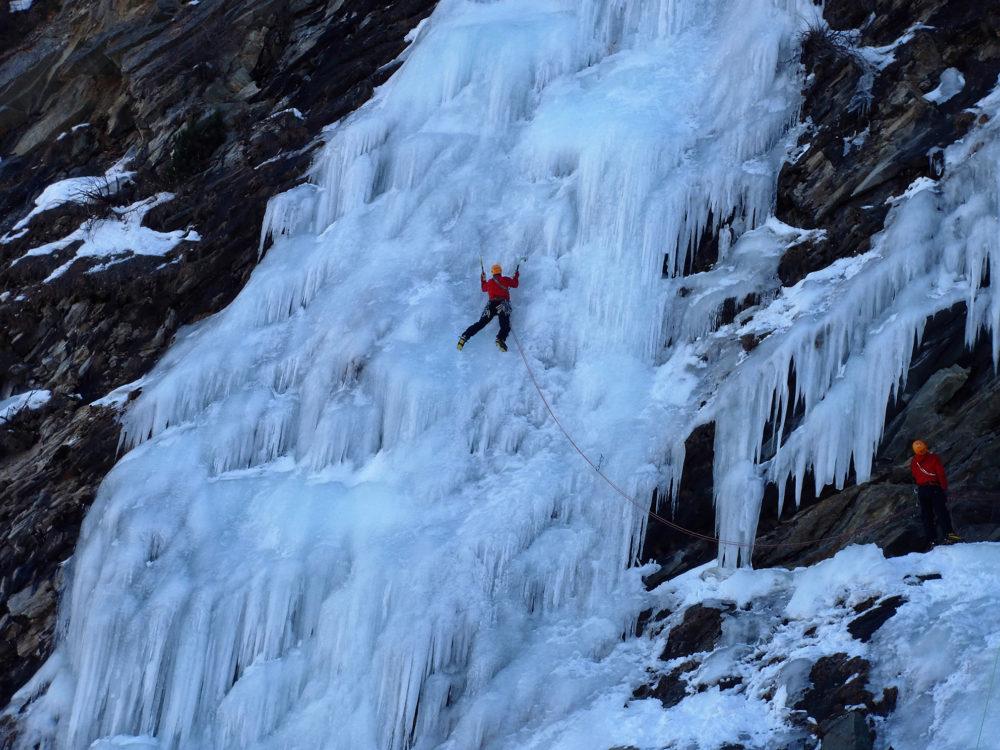
Ropes - Ropes are another key piece of equipment and it takes time to source the right rope for you. When it comes to ice climbing it's important that the rope is at least 60m, is dry treated and handles well, e.g. 2 x 60m DMM Migrant 8.2mm half ropes. The pitch length may not always be 60m but getting onto a pitch or moving back from the edge of the ice at the top usually entails easier snow slopes or ice cones so a longer rope is invaluable. A dry treated rope is obvious for those warmer days when the ice is wet, the last thing you want is a heavy or iced up rope that now won’t fit through a belay plate or becomes too stiff to use safely. Dry the ropes out on an indirect heat source and store in a dry/dark room or cupboard and always check them carefully each time you use them.
Harness - Check over your harness for signs of wear and give some thought to how you are going to rack the ice screws. You could use either two Simond Racks or a Simond Rack for your right hand, which is the hand most people place ice screws with and a plastic Black Diamond clipper with a lightweight wire gate for your left hand.
These systems save you loads of time and energy, rack about 10 -12 ice screws and work well. They also allow you to clip and unclip ice screws from you harness with one hand, while the other is still holding onto a secure axe placement. Just remember to have a system on both sides of your harness, as you cannot always predict where the best ice will be and with which hand you will need to use to place the ice screw. You can make your own system by taping a large bent gate karabiner facing downwards to your harness. Clip it through your harness waist band first and then tape it so it doesn’t move and the screws will rack in the end where the gate opens. The ice screw hanger pushes against the gate of the karabiner, opening it allowing you to hook the screw onto the karabiner.
Take some Abolokov threader or ‘V’ threader, and some 8mm rope (old climbing rope) for abseils - don’t leave home without it!
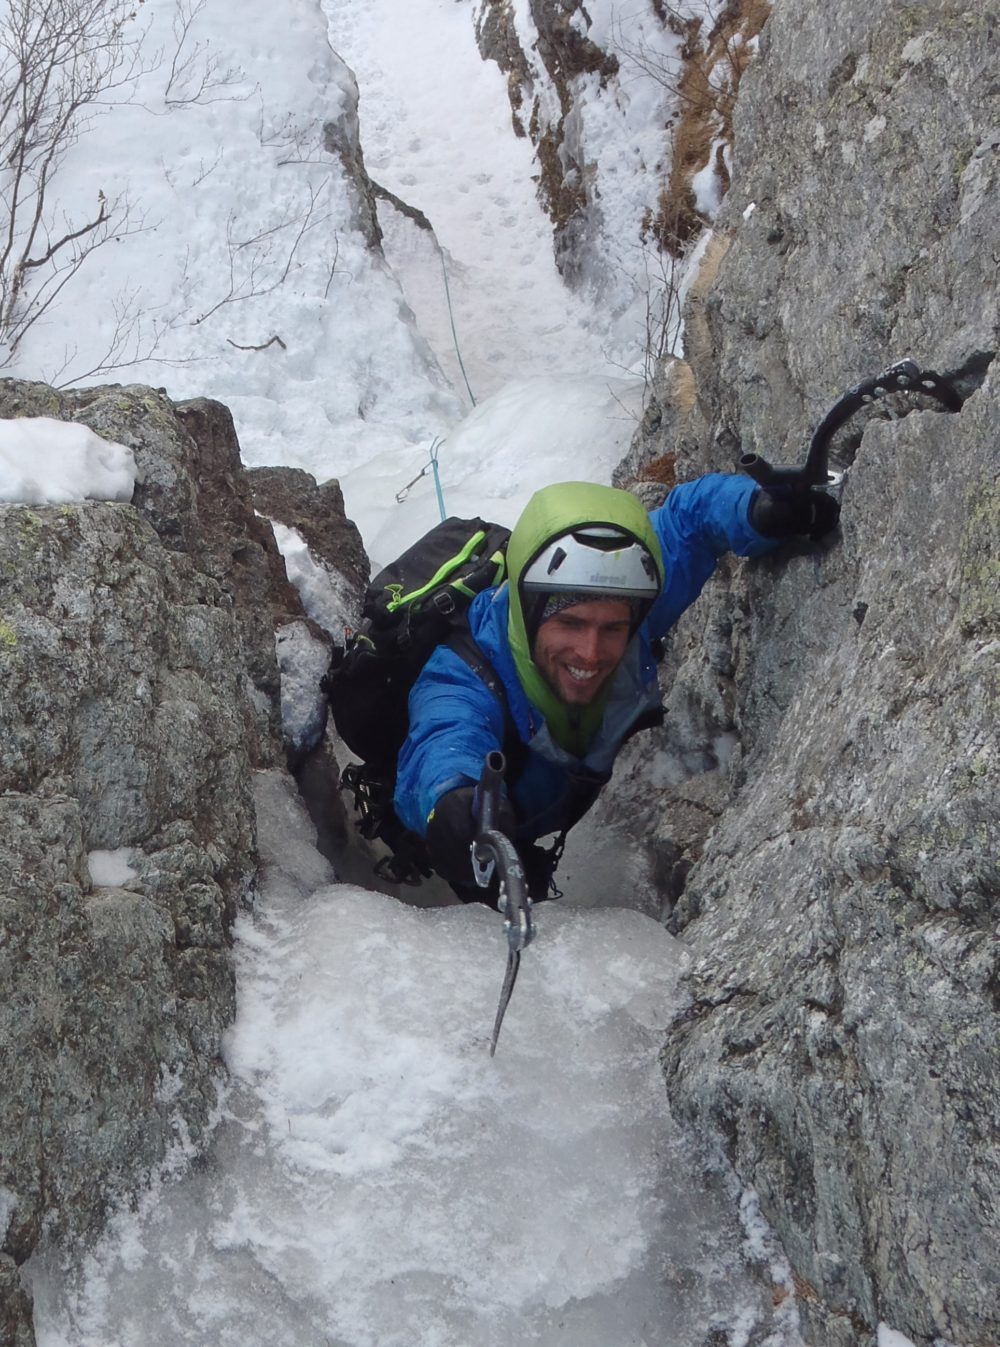
Helmet - This is a given, just make sure yours is comfortable as you will be wearing it all day.
Boots – Finally, give your boots a good airing and change the laces if necessary.
Clothing - Give some thought to your clothing and choose a layering system that will not only keep you warm but also allow you plenty of movement (synthetic mid-layer systems, such as the Arc’teryx Nuclei Jacket is great for this). Gloves are very important and two pairs of thick finger gloves are best. Wear one pair and carry the other, so that when one pair gets cold and wet you can change them and your hands will stay continually warm. Keep the thick pair for climbing and wear a thin fleece pair on the walk in because if you do sweat in the thick ones you will have cold hands from the word go.
Take a fleece hat that fits comfortably under your helmet and carry a pair of sunglasses, as generally the best ice in cold temperatures will be found in the sun!
Always carry a small headlamp, as the days are shorter in winter and take plenty of food, which you can carry in a pocket and eat on the belays.
The main thing with all your kit is that you know how it works and that its organised because the more organised you are with your leashes, racking, ice screws etc. the easier, less pumped, warmer and safer you’ll be!
Adrian Nelhams
ISM Director and Guide
Related News Articles

Getting Into & Developing Your Climbing
Indoor bouldering is a great place to start if you want to try climbing for the first time. You can…
Read Article
Petzl 'Alpen Adapt' Crampons
A quick look at the Petzl crampons that I'm using at the moment, and how you can very easily mix…
Read Article
Petzl Crampon Compatability
Mix & match the different Petzl crampon sections, to create the best fit for your boots, and adapt to each adventure.
Read ArticlePrussiking Up A Rope
Following the recent articles around crevasse rescue and snow belays, I wanted to finish up by outlining a standard technique…
Read Article


