Transceiver and Avalanche Rescue
With winter fast approaching, ISM Mountain Guide Terry Ralphs gives an indepth view on transceivers and avalanche rescue.
As winter approaches why not brush up on your skills using a transceiver. Imagine the horror of being caught out in an avalanche, trying to find one of your friends and knowing that you could have done better. It is your responsibility as an off-piste skier to be skilled in performing an avalanche rescue. Avoidance is clearly the best policy, so start looking at the weather and avalanche websites at the start of the season, so you have a good feel for how the winter is shaping up before you get onto the slopes. But life can be very unpredictable and some of the most experienced people get avalanched. So, put yourself in the best possible position and be prepared for the unexpected and get slick at performing transceiver searches.
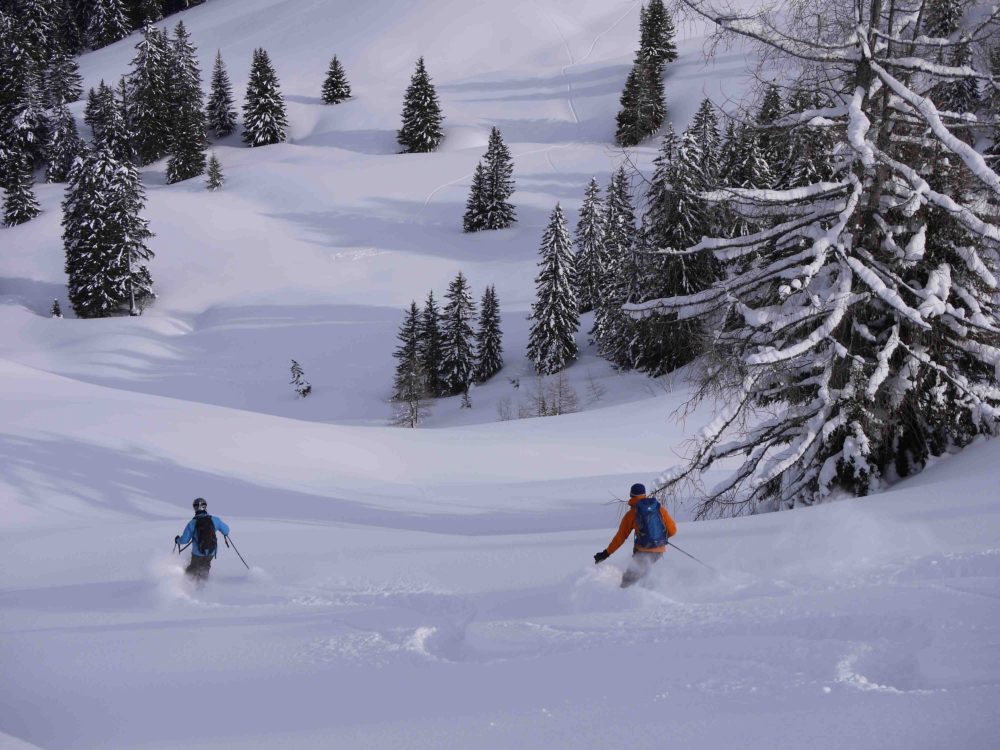
The start of the season can be a tricky time. The snow pack is often unstable and your avalanche awareness skills are rusty, also you will be as keen as mustard to get onto the white stuff… a combination that may make you vulnerable to being avalanched. Here are a few things that I do to prepare myself ahead of time for the winter’s snow activities.
Care of your Transceiver
The first task is to dig out your transceiver which should have been stored in a dry place with the batteries removed. It is important to start the season with a fresh set of batteries. Always use good quality batteries which are of the same type. This ensures a steady voltage to the transceiver which improves efficiency in search mode. Poor quality (budget) batteries could leak which would corrode the terminals of the transceiver making it unreliable. A false economy, I would suggest. Also, budget batteries may not last as long and might be more susceptible to the cold. Rechargeable batteries should not to be used as their power profile drops of quickly and unpredictably, potentially leading to an unnoticed battery failure. I like to use alkaline Duracell batteries.
Moisture is another issue for the transceiver, especially through sweating. There has been a documented incident where a skier passed the group transceiver check in the morning, but by the time he was avalanched later that day his beacon could not be detected. The battery terminals had shorted due to the presence of sweat and the group was not able to rescue the skier. It is clearly important to check the integrity of the battery terminals on your transceiver and keep them as dry as practically possible.
Transceivers are reasonably robust but care should be taken not to drop them. The graphite aerial may fracture on impact which will render the device defective. I always carry a spare transceiver when out skiing with a group in case of a malfunction, as it is a vital piece of safety equipment in avalanche terrain. I carry my transceiver in the holster provided by the manufacturer, with the screen facing my body to protect it, just above my base layer. This means that the transceiver is close to my body so it is protected if I am in a violent avalanche and it also keeps the devices batteries warm.
Before the start of the season test that the transceiver is working properly in transmit mode and in search mode. Each day we should test that the transceiver transmitting and once a week I test it in search mode.
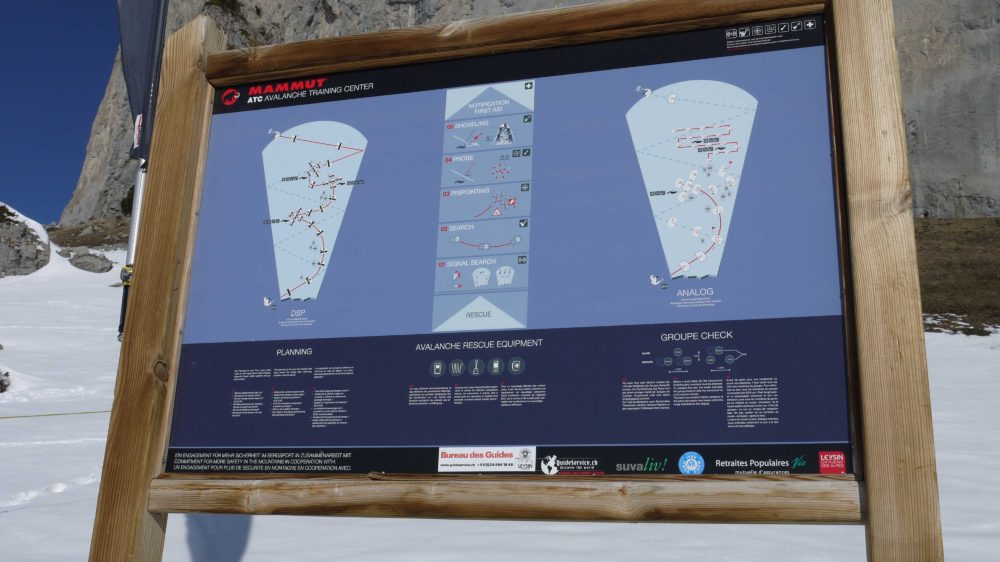
The History of Transceiver Development.
It is useful to understand the developments that the transceiver has gone through as your companions will not always have the same model as yours. There are a few manufacturers of transceivers (e.g. Mammut, Ortovox, Pieps, BCA,) and they produce many different models each with pros and cons. They all work on the 457kHz frequency standard so are compatible.
Over the last 30 years’ technology in transceivers has improved dramatically.
1. The first-generation transceivers have a single aerial and work in analogue. The aerial transmits radio pulses at about one second intervals. The receiving device translates these radio pulses into audible beeps; the louder the beep the closer the transmitting device. This gives a basic and robust system which works very well if the user is highly trained and practices regularly. The Ortovox F1 was the best seller for this generation of transceiver.
2. The second generation gave birth to the digital transceiver which uses two aerials. These enable the searching device to triangulate the position of the transmitting transceiver which is translated into a digital distance reading and direction arrow, as well as having an audible beep. This results in a much faster search especially for people who don’t use them very often. The Mammut “Barryvox” and BCA tracker DTS mark 1 are examples of this generation of transceiver.
3. The third and current generation of transceivers have three aerials. A flaw in previous transmitters led to a false minimum distance reading if the search transceiver and transmitter aerials where aligned 90* to each other. The real minimum will be close to the false minimum but you can spend unnecessary time investigating these false minimums. The third aerial adjusts for this effect so you can be sure you are on the true minimum. Another big advantage of most third-generation devices is that in a multiple burial situation, they can isolate one signal from other transceiver signals. Once the first victim is located, this signal can be “marked” and then ignored, allowing the searcher to follow another signal, without any interference from the found transceiver. Examples of this type of transceiver are The Mammut Pulse, Mammut Elements, BCA Tracker 2, Pieps DSP, Ortovox 3+ RECCO.
Unfortunately, there is an incompatibility between the first-generation analogue devices and digital devices which is important to bear in mind, especially in a multiple burial situation. First generation signals tend to drift off frequency as much as by 80kHz from the standard 457kHz frequency. The digital transceivers (2nd and 3rd generation) are highly sensitive devices and can only focus on a one narrow band at a time. So if there are analogue and digital transceivers buried, the searching transceivers will lock on to the first frequency they find and, if they are not all transmitting on the standard frequency, it will not pick up the other frequencies. So, if you have a first-generation device been picked up at say 370kHz with a digital transceiver, the device can no longer detect the transceivers which are transmitting at 457kHz, until you switch off the first-generation transmitter or move the device in a location where the other devices have a stronger signal.
Which Transceiver Model is best for me?
For me, the main consideration is to buy a transceiver which has a long range in both transmission and search modes. The bigger the aerial the longer the range. So, if buried I would be blasting out the strongest signal which would be picked up further away; and if searching I would have the most sensitive device so that I can quickly locate buried victims. Another consideration is that not all third generation can work on the first-generation analogue technology which is an important consideration when purchasing as if the transceiver screen breaks you will no longer have a method to track the buried transceiver. There are some third-generation transceivers (such as the Mammut Pulse) that you can start up in analogue mode (audible feedback only), which means that you have a fall back should the screen break or become defective. I would never buy a second-hand transceiver as you never know its history and manufactures generally do not support devices older than three years.
I use the “Mammut Pulse” which has been around for a long time now and has been through 4 software updates to improve its search procedure. It has a large primary aerial so very sensitive and can also be used in real analogue mode. It is rugged and well designed.
Avalanche Rescue Procedure.
The avalanche rescue procedure encompasses a lot more than just using a transceiver and we should all remind ourselves of what is involved before we start going into the winter backcountry.
Organising the available resources and moving into an efficient rescue team, whilst maintaining the safety of the rescuers, are essential for a successful rescue. It is no mean feat to achieve this even in practice situations. Here I am going to focus on the use of the digital transceiver.
One thing that you should establish is the range of your transceiver as this varies widely depending on the model of your transceiver. Some more compact models with the smaller antenna can only mange 25m to 30m range whilst others up to 50m range. It is a good idea to place a transceiver on the ground and walk away from it until you lose the signal so you know the limitations of your device. Then walk back to pick up the transmitter noting when you start to pick up the signal.
Rescue procedure
Remember time is of the essence as the victim is assumed to be suffocating in a tomb of snow. Creative thinking is great but this takes time, so here a more procedural approach is needed, hence the need for repetitive training so that we can automate the general procedures outlined below.
1. Stay calm as you will need to be focused. Move to a safe place (if necessary) and warn others of any immediate danger; be aware of the possibility of secondary avalanches. Watch carefully if you can see any victims going down and make a note of where they were last seen. They will be lying below this so you can safely rule out searching above this point. (if no point of last seen was established, you will need to search a greater area.
2. When it is safe you should start the search. Transceivers must be switched to search mode so that the only transceivers transmitting are from the buried victim(s). In search mode, most second and third generation transceivers will turn back to transmit mode after 4 or 8 minutes, (depending on how you have programmed them) in case of a secondary avalanche. Be aware of this.
3. Signal Search: The initial search for a signal from the buried transceiver. This is a very stressful part of the search and you should be moving as quickly as your transceiver can respond. If alone, adopt a zig zag search pattern leaving the distance of the range of your transceiver between the turns. If in doubt keep well within range. If you have more than one searcher, consider making a corridor search leaving the distance between the searchers equal to the range of the least sensitive transceiver. Keep looking for signs of burial (hands, gloves etc.), but stay on your course unless you are certain it is a partially buried victim. Also, listen as the transceiver will pick up the analogue (audible) signal first.
4. Coarse Search. There is an analogy to landing a plane now… Once you have a signal you can quickly run following the arrow and ensuring a decreasing distance indicator. Your transceiver will be sending you along the curved flux lines from the transmitting transceiver so don’t worry if you are not going in a straight line. The distance shown on your dial is the distance along the flux line. Hold the transceiver horizontally. At 10m slow down or you may overshoot the victim. The transmitting pulses are at about 1 second intervals so you should move at a pace whereby the transceiver has time to process these pulses. Here I put both hands on the transceiver and hold it firmly and squarely in front of me at chest height.
At 5m take a second and stop as we need to line up the “plane” (the arrow on the transceiver) to the runway as this will save time later as we shall fly directly over the victim. This means that we will not have to deviate far to the side of the approach path to locate the transmitter.
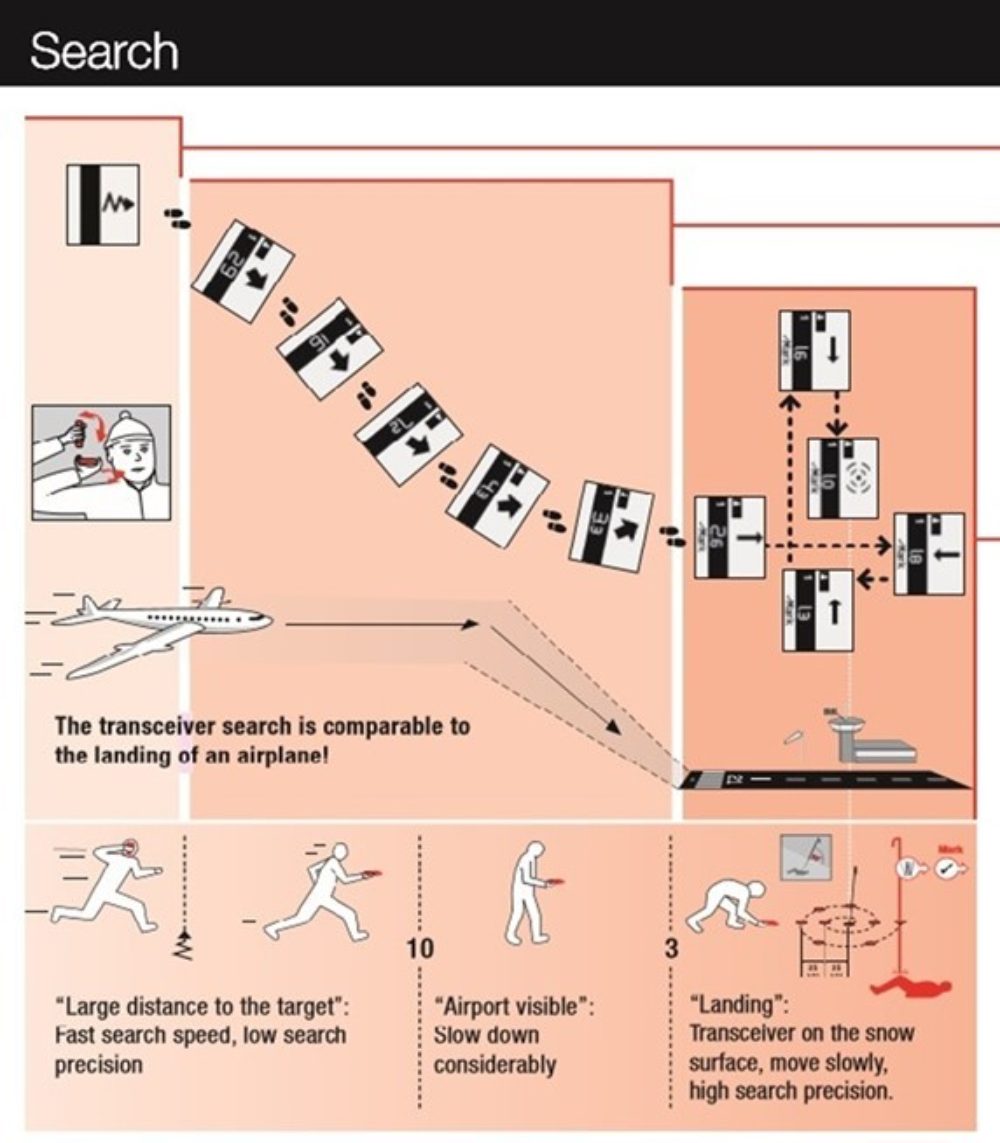
5. Fine Search. At 3m we go into the fine search phase so lower the transceiver so that it is just flying above the snow keeping at the same altitude. The closer we are to the ground the more accurate the minimum distance. Keep your device in the same orientation throughout, don’t rotate it when you move it sideways as this will confuse the transceiver. Within 3m of the victim, slow down. You need to work with the timings from the second interval pulses from the buried transceiver. The arrow is now redundant and you should focus on the distance indicator. Keep on the approach line and use this as an axis. Once you find the minimum distance on the approach axis (X) move 90* to form a y axis and see if you can decrease the distance (keeping your transceiver in the same orientation). Keep moving in the grid on the x and y axis until you have found the true minimum.
NB! How to rule out a false minimum distance with first and second generation transceivers, formed by the transceiver aerials being 90* misaligned. I.e. you are searching horizontally but the victim’s transceiver is lying vertically in the snow. Continue along your approach path until you reach 3m. If you suspect that the transmit transceiver is lying vertically within the snow, turn your search transceiver from the normal horizontal orientation position to a vertically aligned position. Read off the true minimum distance. It can be useful to reinforce where the minimum distance is by drawing a box 1m or 2m distance around it. (If the victim is 2m down, that will be the minimum recording) The intersection of the diagonals from the corners of the square will also point to the minimum
6. Probing. Once you have found the minimum get your probe out and probe at 90* to the slope (not vertically, unless the ground is horizontal) to see if you can locate the device (or person if not training). If you don’t get a strike first time, then probe in a spiral at 25cms intervals. When you locate the victim, keep the probe in as a marker and this is also of psychological benefit for the victim. Here the searcher may “mark” the victim’s transceiver (to eliminate it and if the transceiver has this function) and move to search for the next victim if resources allow.
7. Digging. If you are on a slope, move down 1.5 - 2 x the distance of the burial and dig horizontally into the slope. This is more efficient and safer than digging directly on top of the victim, which you will have to do if it is flat terrain. If there are multiple diggers, employ an inverted V formation keeping 2 shovel lengths apart and rotate to keep the digger at the front fresh.
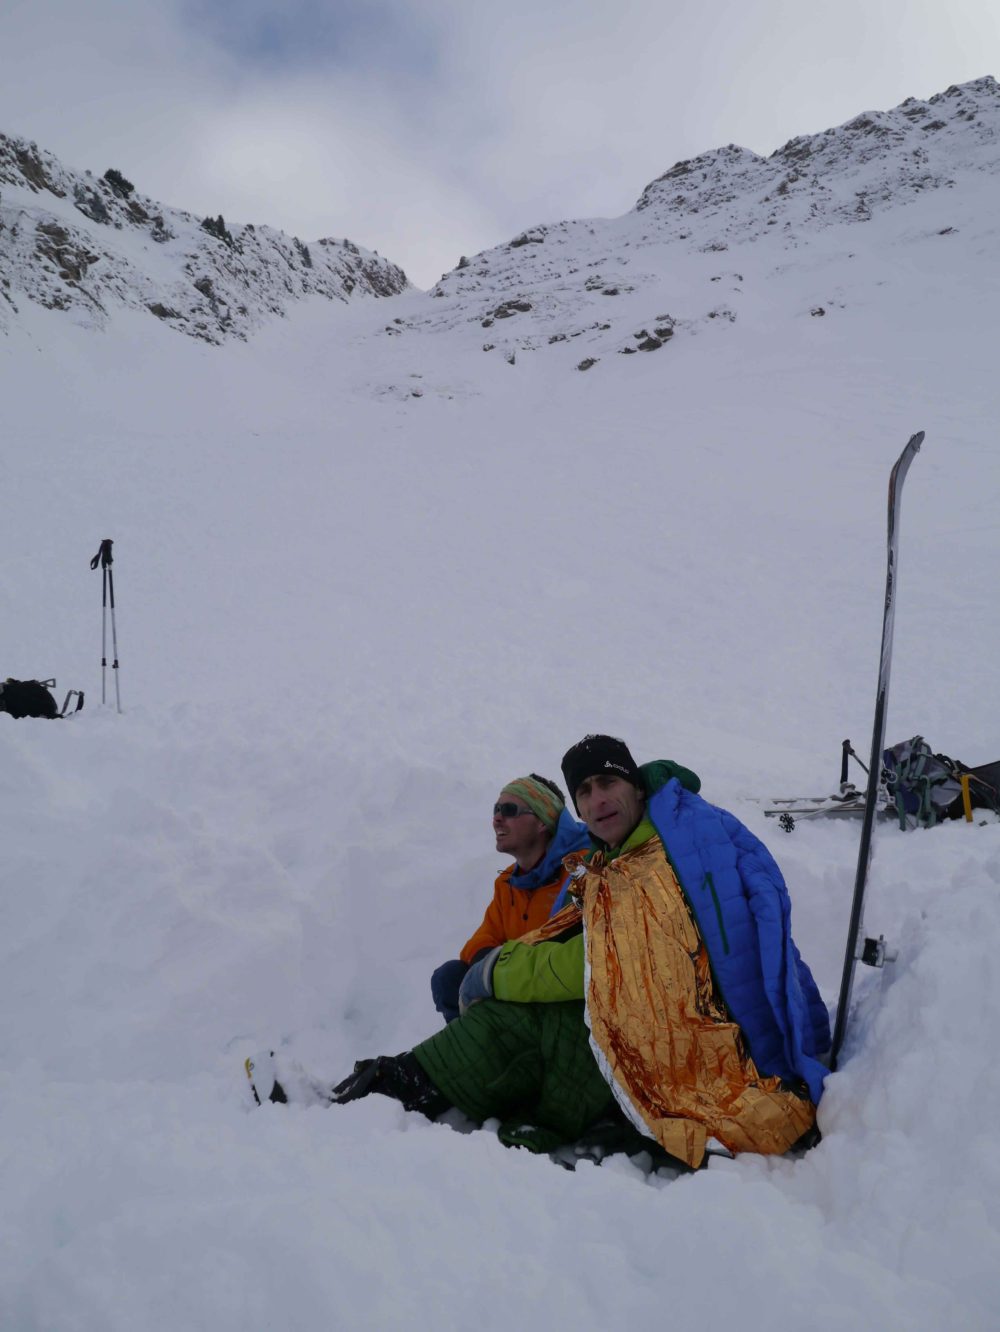
8. First Aid. The priority is to get to the head of the casualty and clear their airway, then administer first aid (Airway, Breathing, Circulation, Deformity, Exposure). If needed, you could use the hole created during the rescue as a shelter to keep the casualty protected. Any burial victim should go to hospital as soon as possible as inhaled snow can cause irritation in the lungs which can turn to pulmonary oedema with fatal consequences.
9. Emergency Services. When to call for help is always a balance between the race for self-rescue to expose the victim’s airway which is always the priority, and getting the casualty to a hospital as soon as possible. As soon as you have a surplus person, then that person could alert (phone or radio) the emergency services whilst the others perform the search. This will depend on the number of casualties and the number of rescuers. Keep handy the emergency numbers for the area in which you are skiing – 112 for Europe 144 for Switzerland.
It is good to review of the procedure outlined above so that in an avalanche rescue situation you are already familiar with the rescue protocol without the distraction of what I should be doing next. I have also compiled an aide memoire to help them with these procedures. See below.
Avalanche Rescue Procedure STAY CALM 1. Go to safe place. Look up mountain for further danger. 2. Watch the victim/s and remember point last seen. 3. Wait until it is safe to start the rescue. 4. All transceivers to RECEIVE position, only victims transmitting 5. Signal Search. Z or | | (40m). Mark point last seen & first signal. 6. Coarse Search. Transceiver horizontal. Fast to 10m, steady to 5m- align, 3m “land the aeroplane”. 7. Fine Search, + (1 person) others get probes and shovels ready. 8. Probe: 25cms apart spiral until strike. Mark with probe. 9. Dig out victim: 1 ½ x burial depth below probe if on a slope, Dig in a “ʌ” 10. Clear airway: Check breathing (ABC- minimal first aid and turn off their transceiver) 11. Search for next victim as soon as possible (on probe strike if there are enough resources to recover found victim). |
Avalanche Rescue Aid Memoire
Training with the Transceiver
Getting to know the limitations of the transceiver is essential as well as trying to identify ways in which you can improve your own performance. I always practice before the start of my ski season to improve my confidence and performance. If there is no you can improvise using leaves (or similar) to hide your transmitter. Always protect the transceiver you are “burying” by placing it into a waterproof padded container (tip: Tupperware boxes are great).
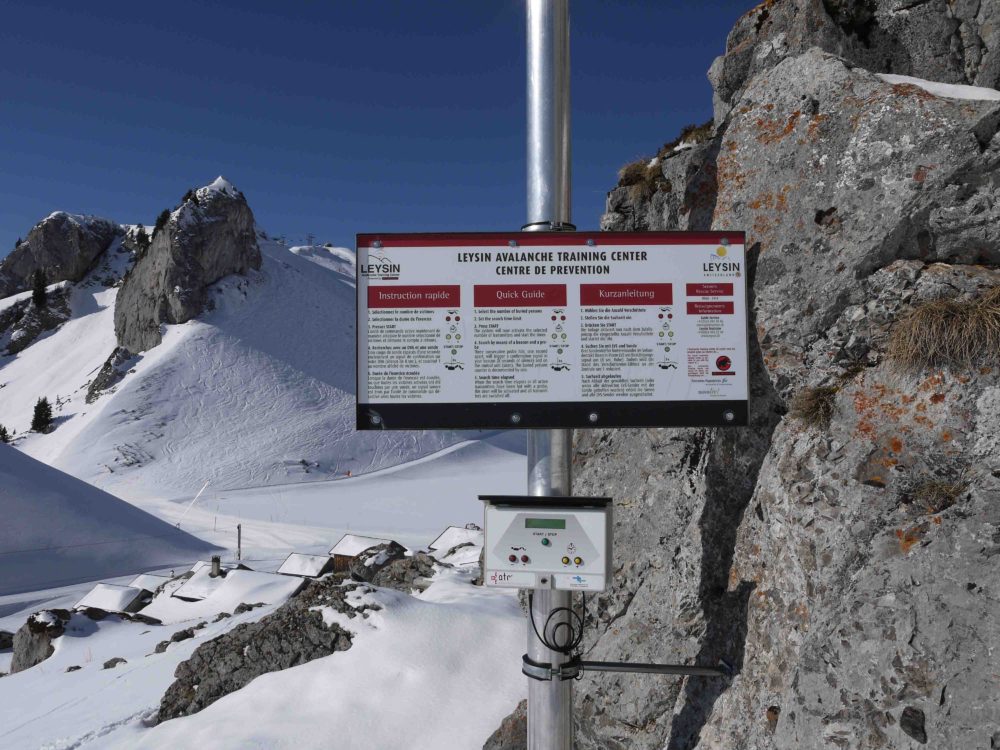
In many ski resorts now, you can find transceiver training parks. These excellent facilities are free to use and have transceivers already buried which can be activated by a control box. You can choose from different programmes and time yourself. There is a plate above the transmitter and when the probe hits this plate it turns the transceiver off. Start your training with an easy single transceiver search with the transceiver in view so that you can build confidence and see how the transceiver reacts to the transmitter. You should aim to find a single transceiver in less than 2 minutes from first finding the signal. Then move on to hidden and multiple burials.
This is also a good way to familiarise yourself with your transceiver and how it reacts in the 3 search phases.
1. Signal search phase What’s the range of your transceiver? How does the transition going from no signal to obtaining a strong signal go? This can be a delicate transition if your direction of travel is at a tangent to the path to the transmitter. Try moving in and out of this point to get to know how your transceiver deals with this transition.
2. Coarse Search phase. (Landing the plane) How fast can you move and maintain focus on the distance reading? If you move very fast, you will be closer than the transceiver indicates and you may overshoot the buried transceiver. Sometimes the 3rd generation transceivers say “stand still” and seem to stall which is stressful and time consuming. This can happen in multi-burial scenarios and the device needs time to process the different signals. This is where a well-trained rescuer using an analogue device has the advantage. Unfortunately, you have no choice but to stand still and wait.
3. Fine search Phase Concentrate on staying on your approach line (x) axis and y axis. Slow down! Move in time with the pulses and move smoothly, be patient and steady. Try marking out a box on the 1 or 2m distance so that you can reinforce the minimum which should be in the centre of the box. Do not rotate your transceiver. If you have a 2-aerial transceiver, check out the false minimum issue - practice with the hidden transceiver vertical and then horizontal. See how the distance changes with the orientation.
In Conclusion.
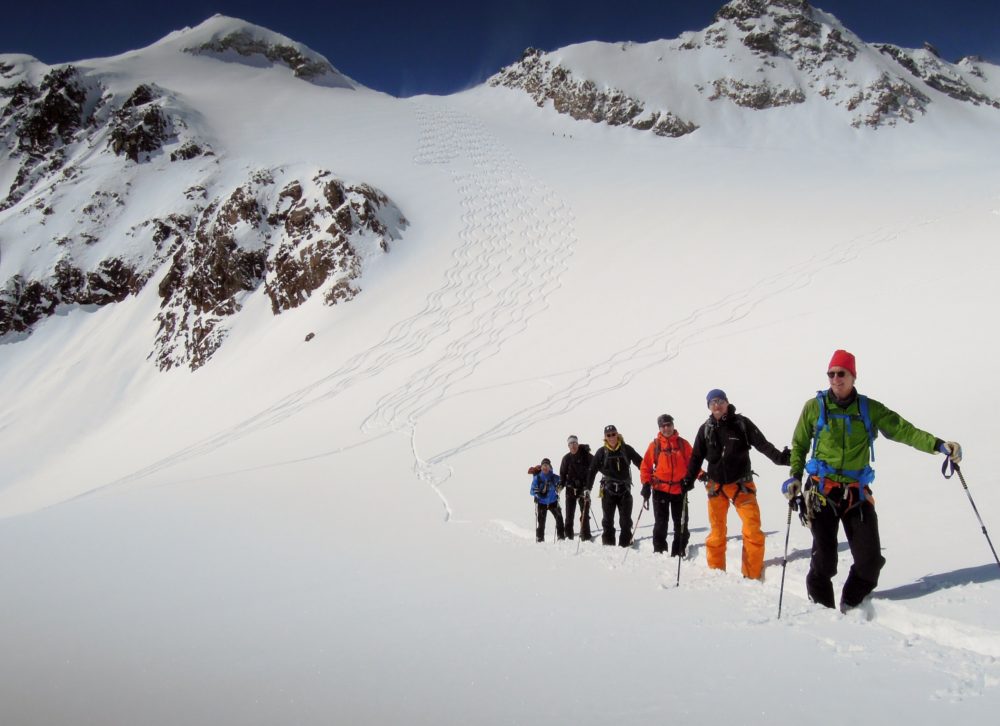
Remember practice makes perfect! I am sure you would want your winter backcountry companions to be perfect in making a rescue, so shouldn’t you be too?. We can see how the transceiver and the techniques outlined above can increase your chances of survival but these are not an excuse to push the boundaries of risk management, say to ski a marginal slope. Avalanche prevention is the key as many avalanche victims don’t survive the fall in the avalanche. A metre cube of snow weighs about 800kg so this can give you an idea of the immense forces that can be generated within an avalanche. Being avalanched is not an option.
If you would like more help in avalanche training, then please have a look at the ISM courses below.
All these courses conform to the Swiss Mountain Training standards and are certified. This is an organisation supported by the Swiss Mountain Guides (SMGA, IFMGA), National Swiss Avalanche Service (SLF) and the Swiss health and safety organisation (SUVA).
1. ISM Avalanche awareness course (http://www.alpin-ism.com/courses/ski-touring-and-off-piste/avalanche-awareness-for-skiers) This is a 2 day course devoted to avalanche awareness and self-rescue in an avalanche accident. It conforms to Swiss Mountain Training level 1.
2. ISM Ski Touring Skills Course (http://www.alpin-ism.com/courses/ski-touring-and-off-piste/ski-touring-skills) This 5 day course is a general ski touring course looking at the basics skills for ski touring including avalanche awareness and self-rescue for an avalanche accident to Swiss Mountain Training level 1.
3. ISM Advanced Ski Touring Skills Course (http://www.alpin-ism.com/courses/ski-touring-and-off-piste/advanced-ski-touring-skills) This is a more advanced 5 day ski touring course for ski tourers wanting to operate in peer to peer groups (i.e. unguided). This course covers avalanche awareness and self-rescue for an avalanche accident to Swiss Mountain Training level 2. It also focuses on group management and leadership styles to accomplish a well-functioning team regarding group safety.
Have a safe and enjoyable winter out on the slopes
Terry Ralphs
IFMGA Mountain Guide
01 November 2016
Related News Articles

Getting Into & Developing Your Climbing
Indoor bouldering is a great place to start if you want to try climbing for the first time. You can…
Read Article
Petzl 'Alpen Adapt' Crampons
A quick look at the Petzl crampons that I'm using at the moment, and how you can very easily mix…
Read Article
Petzl Crampon Compatability
Mix & match the different Petzl crampon sections, to create the best fit for your boots, and adapt to each adventure.
Read ArticlePrussiking Up A Rope
Following the recent articles around crevasse rescue and snow belays, I wanted to finish up by outlining a standard technique…
Read Article
