Ice Screws and Accessories
A look at Ice Screws, Leashes, Clipper systems and V-Threaders
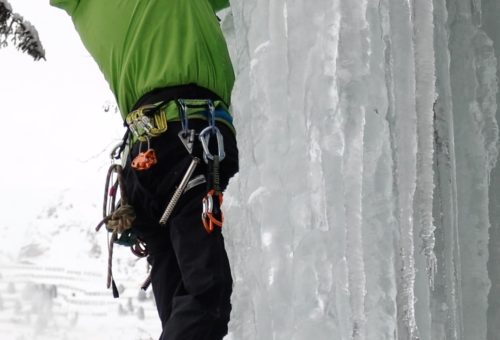
Black Diamond Ice Screws
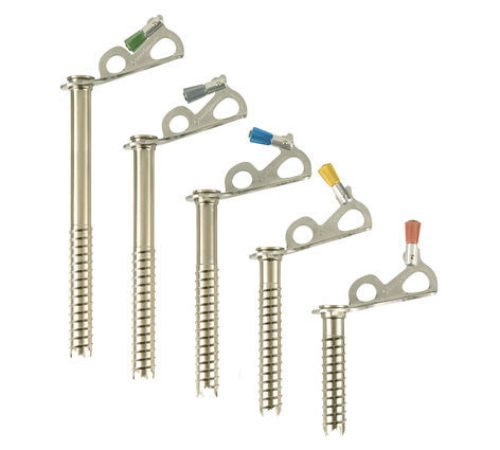
Black Diamond Ice screws have been around for years and were the first to develop the ‘Express’ system of screwing the ice screw into the ice. The lever which opens up from the hanger to allow you to spin the screw in quickly looks simple enough, but was a real game changer when wanting to place an ice screw in steep ice quickly and using minimal effort.
It’s a great design as the lever doesn’t take up any extra space on the hanger and when opened up for use, doesn’t mean that you need clear and clean a large are of ice to drill the ice screw in.
Some screws require you to clear a much larger area as the lever opens out and extends much further beyond the end of the hanger needing a larger circumference of ice to be smooth and cleaned.
I also really like the fact that with the heal of your hand, you can knock the hanger round, forcing the hanger to sit flush on the ice. If the hanger is just rounded then you can’t do this as you don’t get any leverage. It’s so important to be able to do knock the hanger round with the heal of your hand when the ice is hard or the surface of the ice your drilling the screw into isn’t quite flat. The ‘Express’ lever alone doesn’t always work when it’s super cold and the ice is hard.
At the end of the screw there are four teeth that bite into the ice. These teeth have a steep angle so that they bite quickly and efficiently making a one handed placement easy and safe from dropping it.
With this in mind they’ve also reduced the weight of the hanger so that even with the screw drilled in by half a turn when you let go of it to continue the placement with one hand it’s less likely to lever and fall out.
The screws need to be looked after, cared for and kept sharp, so that they’re efficient and bit into the hardest of cold ice. Use the supplied plastic end caps and sleeves to help protect the teeth and threads when traveling or stowing into a back pack.
Tip – If you do use the plastic end caps to protect the teeth then drill a small hole in the middle of the cap to allow moisture to escape and the screw to dry out more easily.
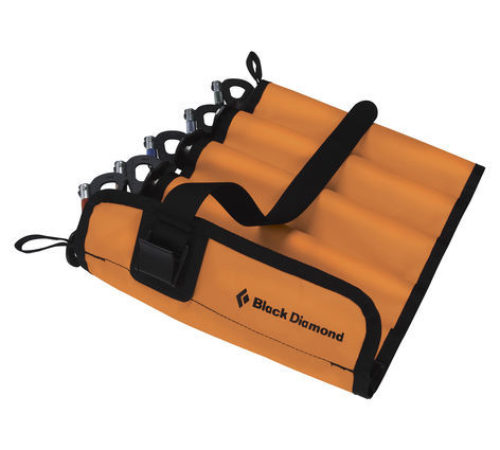
I’d recommend using ice screw bags/holders which are a great way of stowing ice screws without the need for sleeves or caps that you’ll lose anyway! The BD holders carry six screws each and are a great way for a team of two to share the hardware. The bags are open ended so allow the screws to drain and dry out whilst giving protecting the teeth and thread keeping them sharp.
Interestingly, all the threads on the ice screws are the same length and offer the same security, but the overall screw length is designed for different thicknesses and quality of ice. You don’t want a long 21cm ice screw drilled only half way into thin ice as clipped at the hanger it’s a weak placement and will level out and break. A short screw drilled up to the hanger in the same thickness of ice is a solid placement. The longer ice screws are key in aerated ice where maybe you need to drill the ice screw through into better quality ice that’s away from the surface.
Ice Screw Clippers
There are a number of ways to efficiently rack ice screws onto your harness, but the key thing is to have a racking system on either side for ease of access, whether you’re making or taking out a placement with your left or right hand.
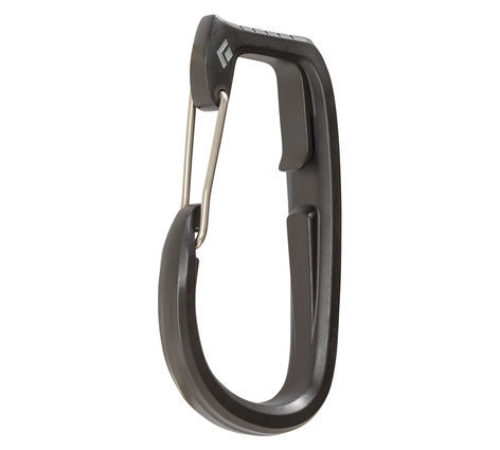
Black Diamond make an ‘Ice Clipper’ for this purpose. It’s an oversized plastic karabiner which can be secured in place on most modern harnesses. Arc’teryx AR 395A has small stitched in loops for this purpose keeping the ‘Ice Clipper’ tight so that you can clip and unclip an ice screw with one hand.
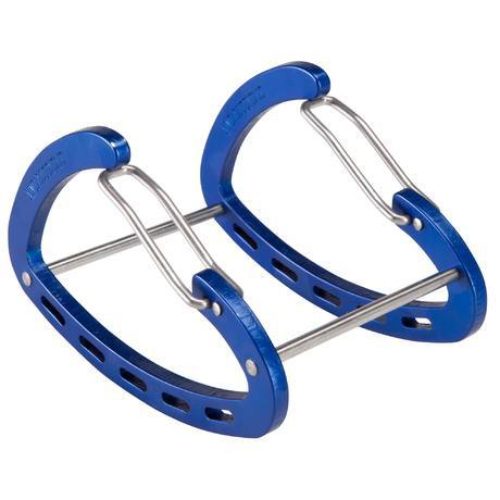
I personally have always preferred the Simond Rack as it’s more rigid and will accommodate more screws and also my quickdraws on shorter pitches.
Either way, some sort of one-handed clipping system is essential climbing any steep ice face, couloir of icefall pitch.
Leashes
A big move over the past few years is that most people now climb leash-less. This is a big and more committing step for most people, as it’s all about sustaining a secure and solid grip on the shaft or hand grip of your ice axe without getting ‘pumped’ (pumped - a state when you fail to hold on any longer!) Ice screws should always be treated with respect and not as a completely solid piece of fixed gear. A leader fall with crampons on and ice axes attached would hurt. Having said that, with a slow build up and good technique, climbing leash-less feels like a really pure form of climbing this beautiful landscape of ice and very rewarding.
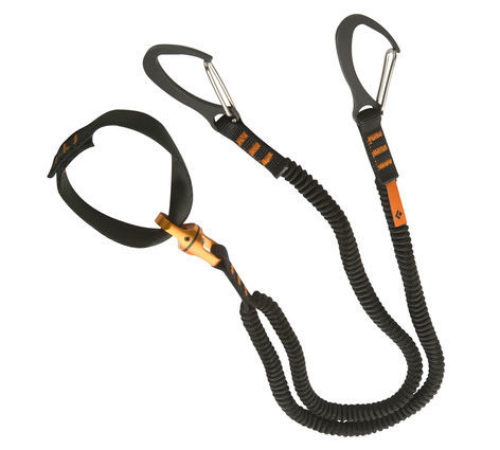
If climbing leash-less most people will still use some kind of elasticated lanyard or tether which connects to each ice axe. These are used to avoid dropping an ice axe whilst placing an ice screw with one hand half way up a steep ice pitch. This elasticated lanyard or tether such as the Black Diamond ‘Spinner Leash’ is connected to your harness and then clipped to the bottom of each of your ice axes. The elastic allows freedom and in the most part unrestricted movement when climbing. Having said that, on steep ground the tether can loop under small icicles catching you out when trying to move up in the middle of a move!…but it’s a great system.
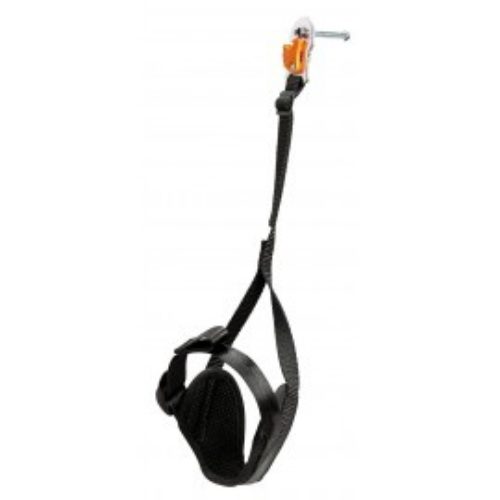
However many people will start off using traditional style leashes which fix directly to the shaft of their ice axes, giving them much more security and confidence as some of their weight is taken and supported through the leashes and wrists. This can be a great way of starting out lead climbing on ice, giving the climber maximum security when climbing above a screw or placing one. A great system is the Petzl Clipper leash which feels very supportive on the wrist and clips and unclips with one hand very easily from the shaft of the ice axe. The adjusted length of the leash is key to supporting your wait efficiently whilst also allowing you to swing the axe to make a placement.
V-Threads
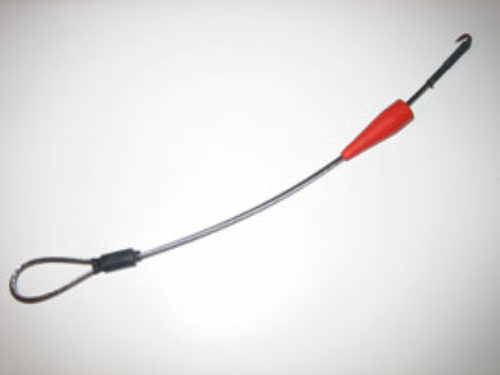
Every ice climber will carry one as it’ll be very expensive when you need to create a good anchor to abseil from and you have to leave two brand new BD Express screws behind! A V-thread is an anchor created in the ice by drilling two screws at 90degrees to each other creating a ‘V’ that rope can then be threaded through and fixed. To thread the rope or any spare tape through, the created ‘V’ you need some sort of hook to catch an end to pull the threaded rope back out again. Grivel make a plastic threader with a metal hook that opens out complete with a serrated edge to curt cord or tape, but from my experience it doesn’t work most of the time, Either make your own out of a metal clothes hanger or buy a metal flexible V-Threader that works every time.
Adrian Nelhams
Related News Articles

Getting Into & Developing Your Climbing
Indoor bouldering is a great place to start if you want to try climbing for the first time. You can…
Read Article
Petzl 'Alpen Adapt' Crampons
A quick look at the Petzl crampons that I'm using at the moment, and how you can very easily mix…
Read Article
Petzl Crampon Compatability
Mix & match the different Petzl crampon sections, to create the best fit for your boots, and adapt to each adventure.
Read ArticlePrussiking Up A Rope
Following the recent articles around crevasse rescue and snow belays, I wanted to finish up by outlining a standard technique…
Read Article


